Visualise cellfinder and brainreg results with napari
This package is likely already installed
(e.g. with cellfinder, brainreg or another napari plugin), but if you want to
install it again, either use the napari plugin install GUI or you can
install brainglobe-napari-io via [pip]:
pip install brainglobe-napari-io
- Open napari (however you normally do it, but typically just type
napariinto your terminal, or click on your desktop icon)
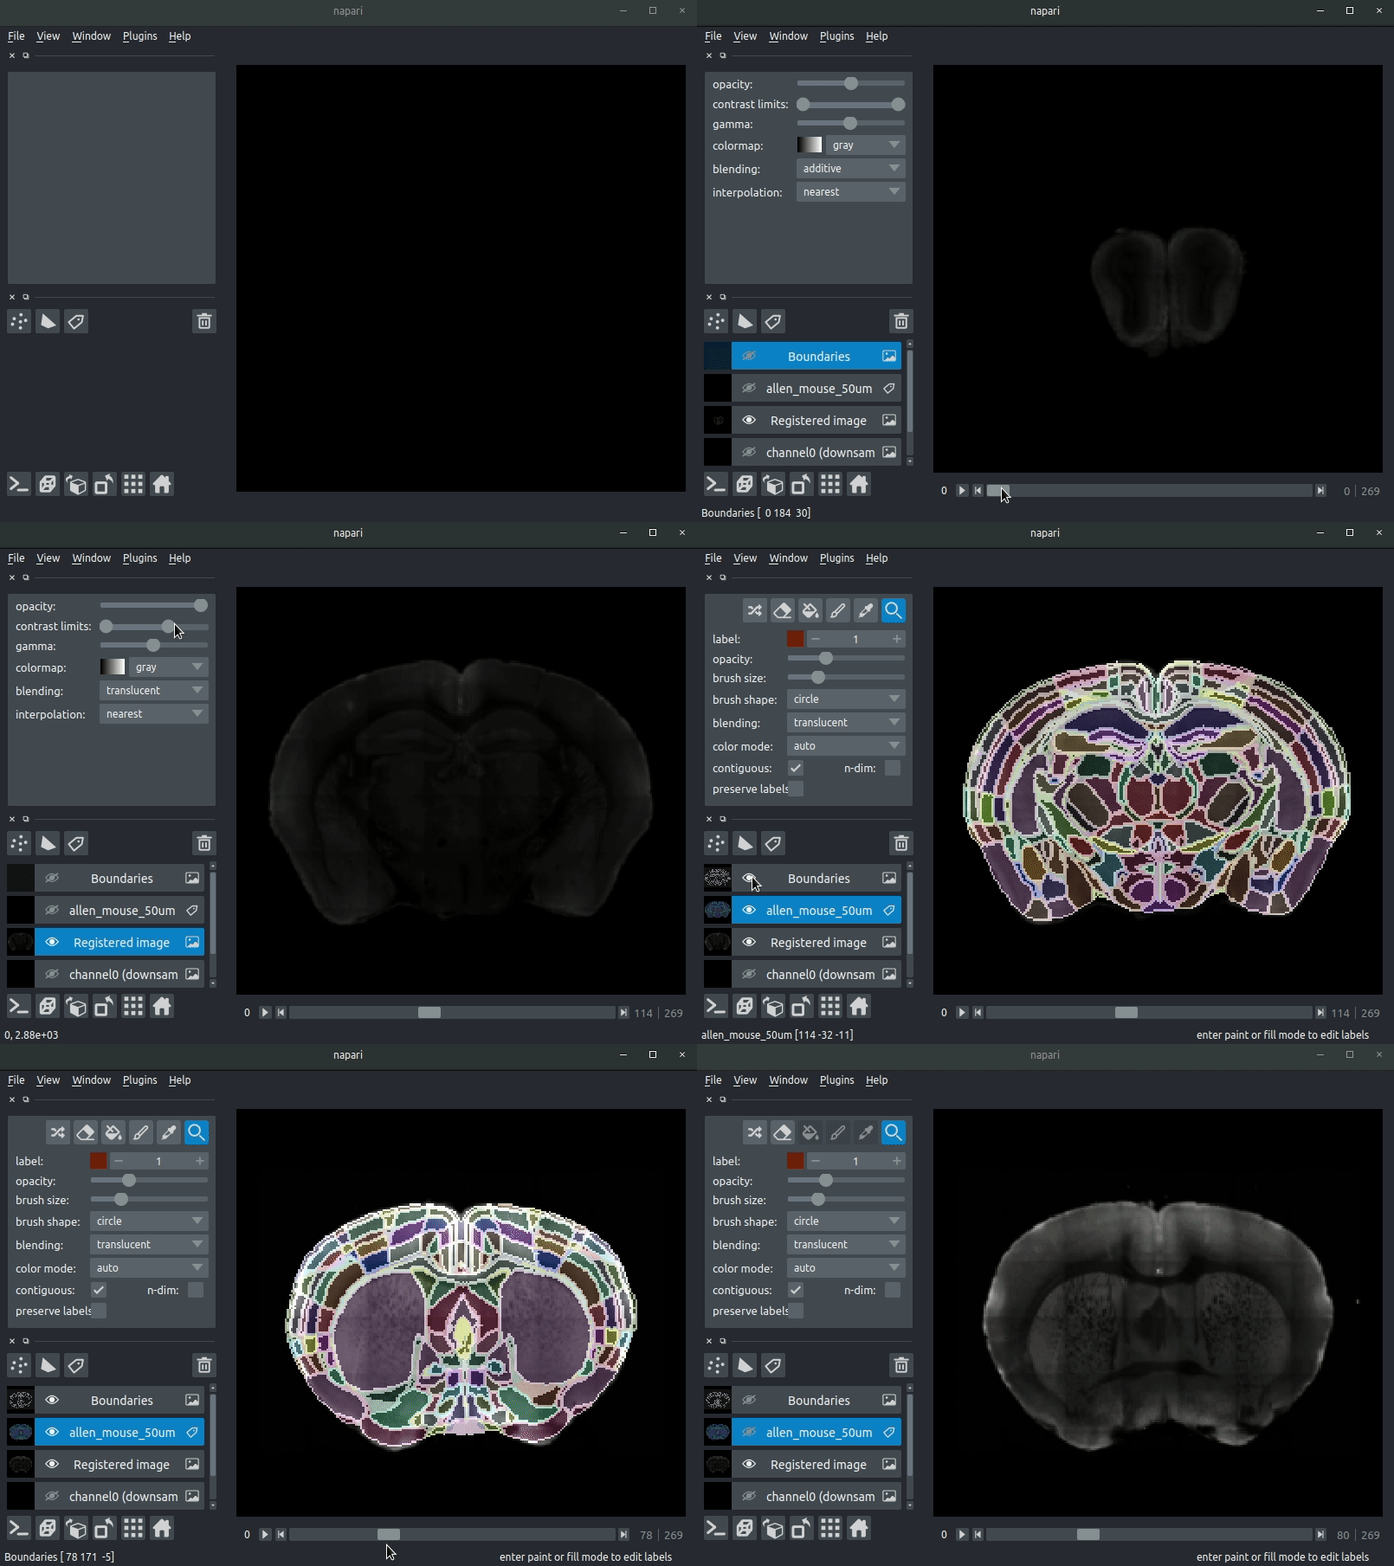
Drag your brainreg output directory (the one with the log file) onto the napari window.
Various images should then open, including:
Registered image- the image used for registration, downsampled to atlas resolutionatlas_name- e.g.allen_mouse_25umthe atlas labels, warped to your sample brainBoundaries- the boundaries of the atlas regions
If you downsampled additional channels, these will also be loaded.
Most of these images will not be visible by default. Click the little eye icon to toggle visibility.
N.B. If you use a high resolution atlas (such as allen_mouse_10um), then the files can take a little while to load.
napari-brainreg also comes with an additional plugin, for visualising your data
in atlas space.
This is typically only used in other software, but you can enable it yourself:
- Open napari
- Navigate to
Plugins->Plugin Call Order - In the
Plugin Sorterwindow, selectnapari_get_readerfrom theselect hook...dropdown box - Drag
brainreg_read_dir_atlas_space(the atlas space viewer plugin) abovebrainreg_read_dir(the normal plugin) to ensure that the atlas space plugin is used preferentially.
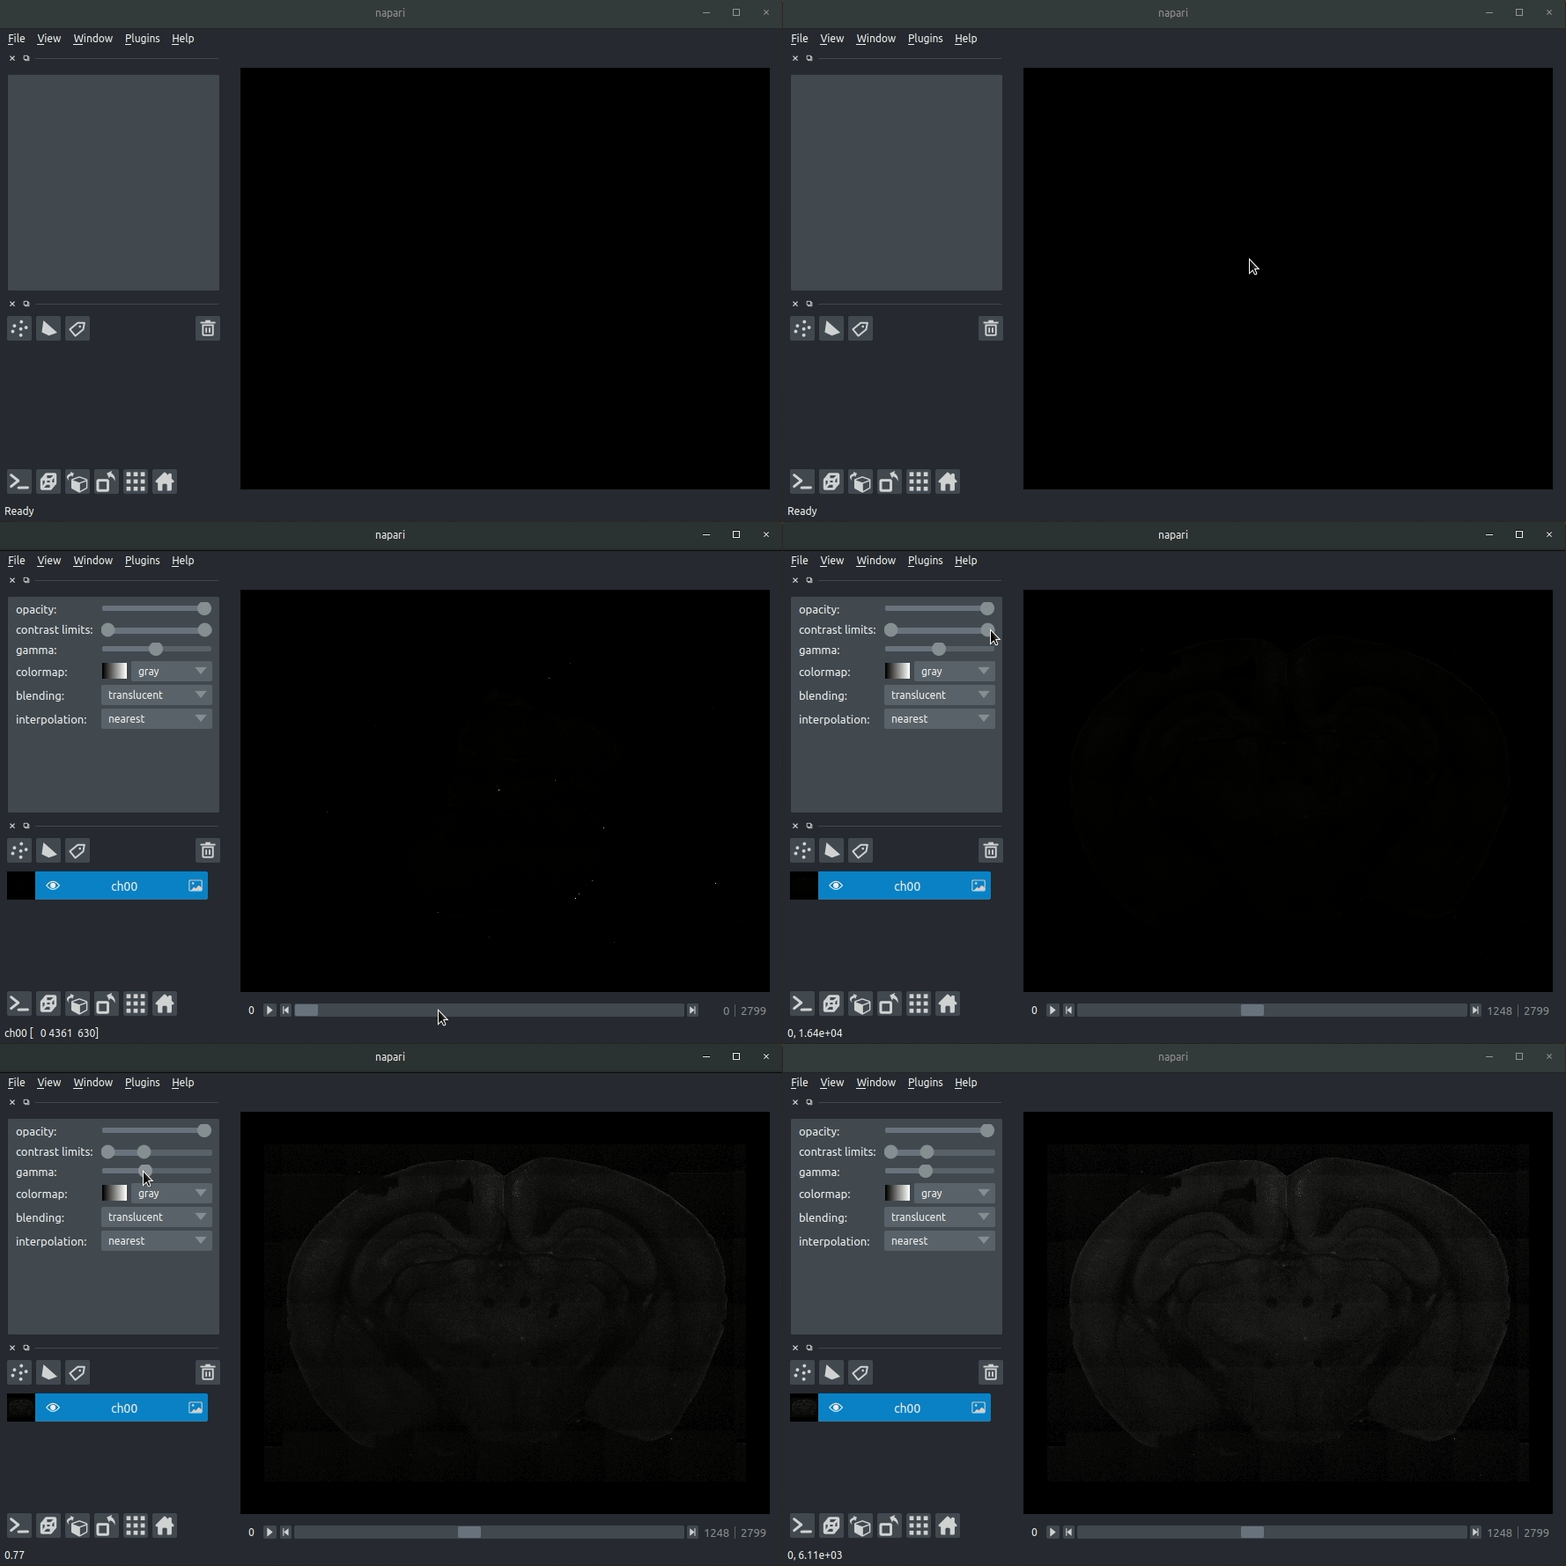
- Load your raw data (drag and drop the data directories into napari, one at a time)
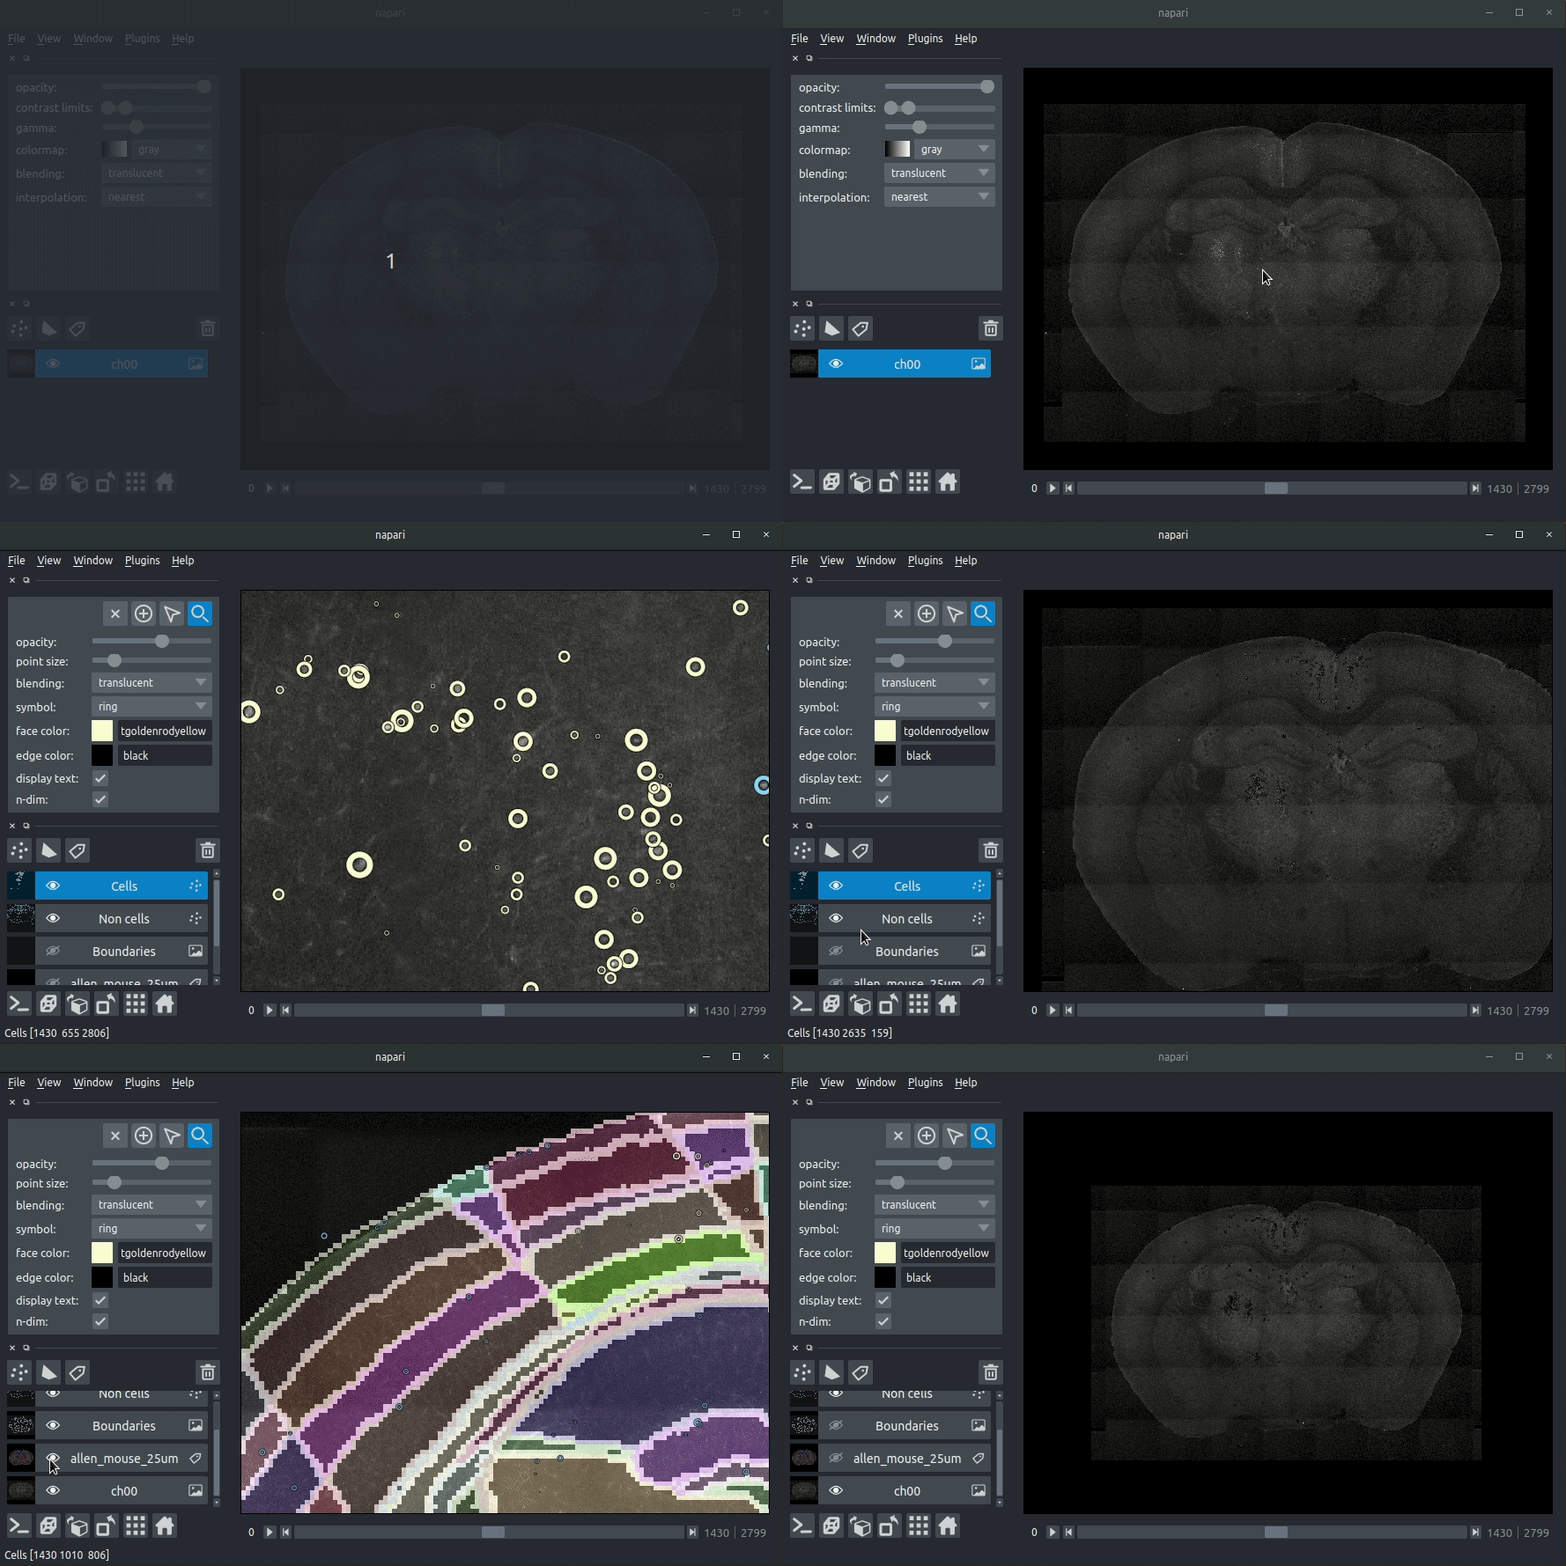
- Drag and drop your cellfinder XML file (e.g.
cell_classification.xml) into napari.
- Load your raw data (drag and drop the data directories into napari, one at a time)
- Drag and drop your cellfinder output directory into napari.
The plugin will then load your detected cells (in yellow) and the rejected cell candidates (in blue). If you carried out registration, then these results will be overlaid (similarly to the loading brainreg data, but transformed to the coordinate space of your raw data).
We are always happy to help users of our tools, and welcome any contributions. If you would like to get in contact with us for any reason, please see the contact page of our website.


