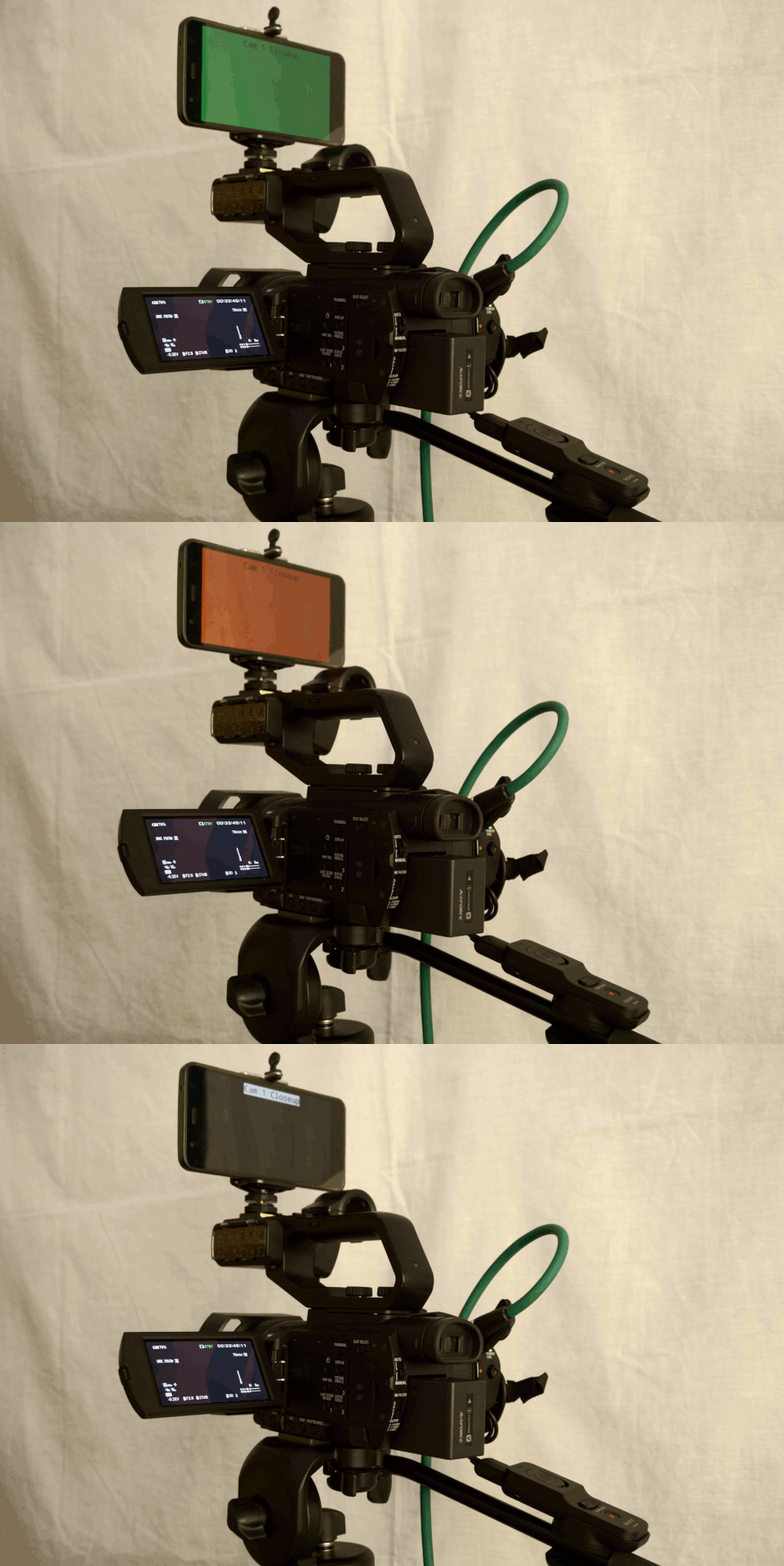
This html page connects to any OBS 30 (and later) instance on the local network and displays either the stream status (live/offline), recording status(idle/recording) or tally information(on air/in preview/neither) for a scene or input. It can also show a small image preview.
- Start OBS, open the "Tools" menu and select "obs-websocket Settings"
- Make sure that "Enable Websocket server" is checked
- Download this repository and unpack or clone it
Simple setup on windows:
- Launch the "transferSettings.bat". This will find the configuration values in your locally installed obs and put them into the right place for you. This can only be done once.
Setup otherwise:
- In the "obs-websocket Settings" copy the websocket password (If "Enable Authentication" is enabled) for later by clicking on "Show Connect Info"-Button -> Next to the "Server Password" field -> "Copy"-Button
- Make sure that "Server Port" is 4455
- If a websocket passwort is set, paste it into line 12 of OBSliveTally.html
By default it is setup to connect to the IP of the machine you run it on(127.0.0.1). You can change that default start value by editing the IP address and/or the port in line 11 with a text editor. You can open the file directly with a webbrowser or use a simple webserver somewhere on the network to serv it to local clients. An internet connection is required for it to load. (See more info at the bottom)
The newest version is always hosted here thanks to github pages.
- Open the OBSliveTally.html in a web browser (On a pc, laptop, tablet, smartphone)
- You can enter or change the ip to the address of your obs machine. If you edited it in the file as mentioned above it will show up here already filled in.
- Click on the "Connect to OBS" button
- If the connection to the obs machine was successful, a list of buttons will show up with all your inputs and sources from obs and two other buttons on top for "Stream Status" and "Recording Status"
- As soon as you click the "Connect to OBS" button, the IP address entered will be saved on the device with the localStorage API if available. If you then reload the page on the device it will auto-fill the IP field with the saved value so you don't have to re-enter it every time.
- Click the "Stream Status" or "Recording Status" button
- That's it. It will show OFFLINE/IDLE and a white background if you're not streaming/recording and LIVE/REC with a red background when the stream is live/recording is active
- Click on the scene name you want that are listed under "Scenes"
- It will show the name of the scene on top of the page.
- If the scene is neither in preview or program, the background will be black
- If the scene is in preview, the background will be green
- If the scene is in program, the background will be red
- If a transition (like a fade) is started where the destination scene is the scene you selected, then it will light up red
- If studio mode is disabled there will be only a red and black display, no green and also no red state while a transition is active
- If a scene is nested into another scene (1-level deep) then it will also show tally for the scenes including the selected scene
You can also show the tally status for individual sources. Every scene that containes a SceneItem of that Input will be handled like described in Show Scene Tally above.
The tool will keep track of changes to the scenes/innputs like add, delete or renames and will automatically adjust.
- If you want the page to be displayed in fullscreen then right-click the page and click "Toggle fullscreen". This can't be stored between reloads thanks to browser "security".
- If you want to see a small image preview of the current program scene in the bottom left corner that updates every X seconds then then right-click the page and click "Enable PGM screenshot". This will be saved across reloads. To disable just open the context menu again and choose "Disable PGM screenshot". Size and interval can be adjusted in line 15/16. Showing transitions is not supported.
- If you want the page to automatically connect to obs without making any default selection then right-click the page and click "Enable auto connect". This will be saved across reloads. To disable just open the context menu again and choose "Disable auto connect".
- If you want to automatically restore what you last selected in terms of Stream/Rec Status / Scene / Input then right-click the page and click "Enable auto restore". This will be saved across reloads. To disable just open the context menu again and choose "Disable auto restore". You can combine this will auto connect for the full experience.
- If you want to delete all of the locally stored data (obs connection settings, advanced options) then right-click the page and click "Clear all saved settings". This will clear the data and reload the page.
- If you want to use the tool offline aka without an internet connection you need to download this file making sure not to rename it, place it in the same folder as the OBSliveTally.html, uncomment line 7 and comment out line 6(also in the OBSliveTally.html).
If you find any bugs, please report them as a Github Issue or join my Discord Server
- Win 11 23H2
- OBS 30.2.3
Thanks to alexdean for refactoring it at some point in 2020 and fixing a few state bug's that came up.
