-
-
Notifications
You must be signed in to change notification settings - Fork 252
Map calibration in FloleVac
Piotr Machowski edited this page Feb 12, 2020
·
5 revisions
Preparation
- Install and configure FloleVac application on your Android device
- Make sure you have an image editor installed on your PC
- Download and open this calibration spreadsheet (it is also compatible with Google Docs)
FloleVac
- Open a map view
- Select a "Zoned cleanup" mode
- Draw a zone covering whole map
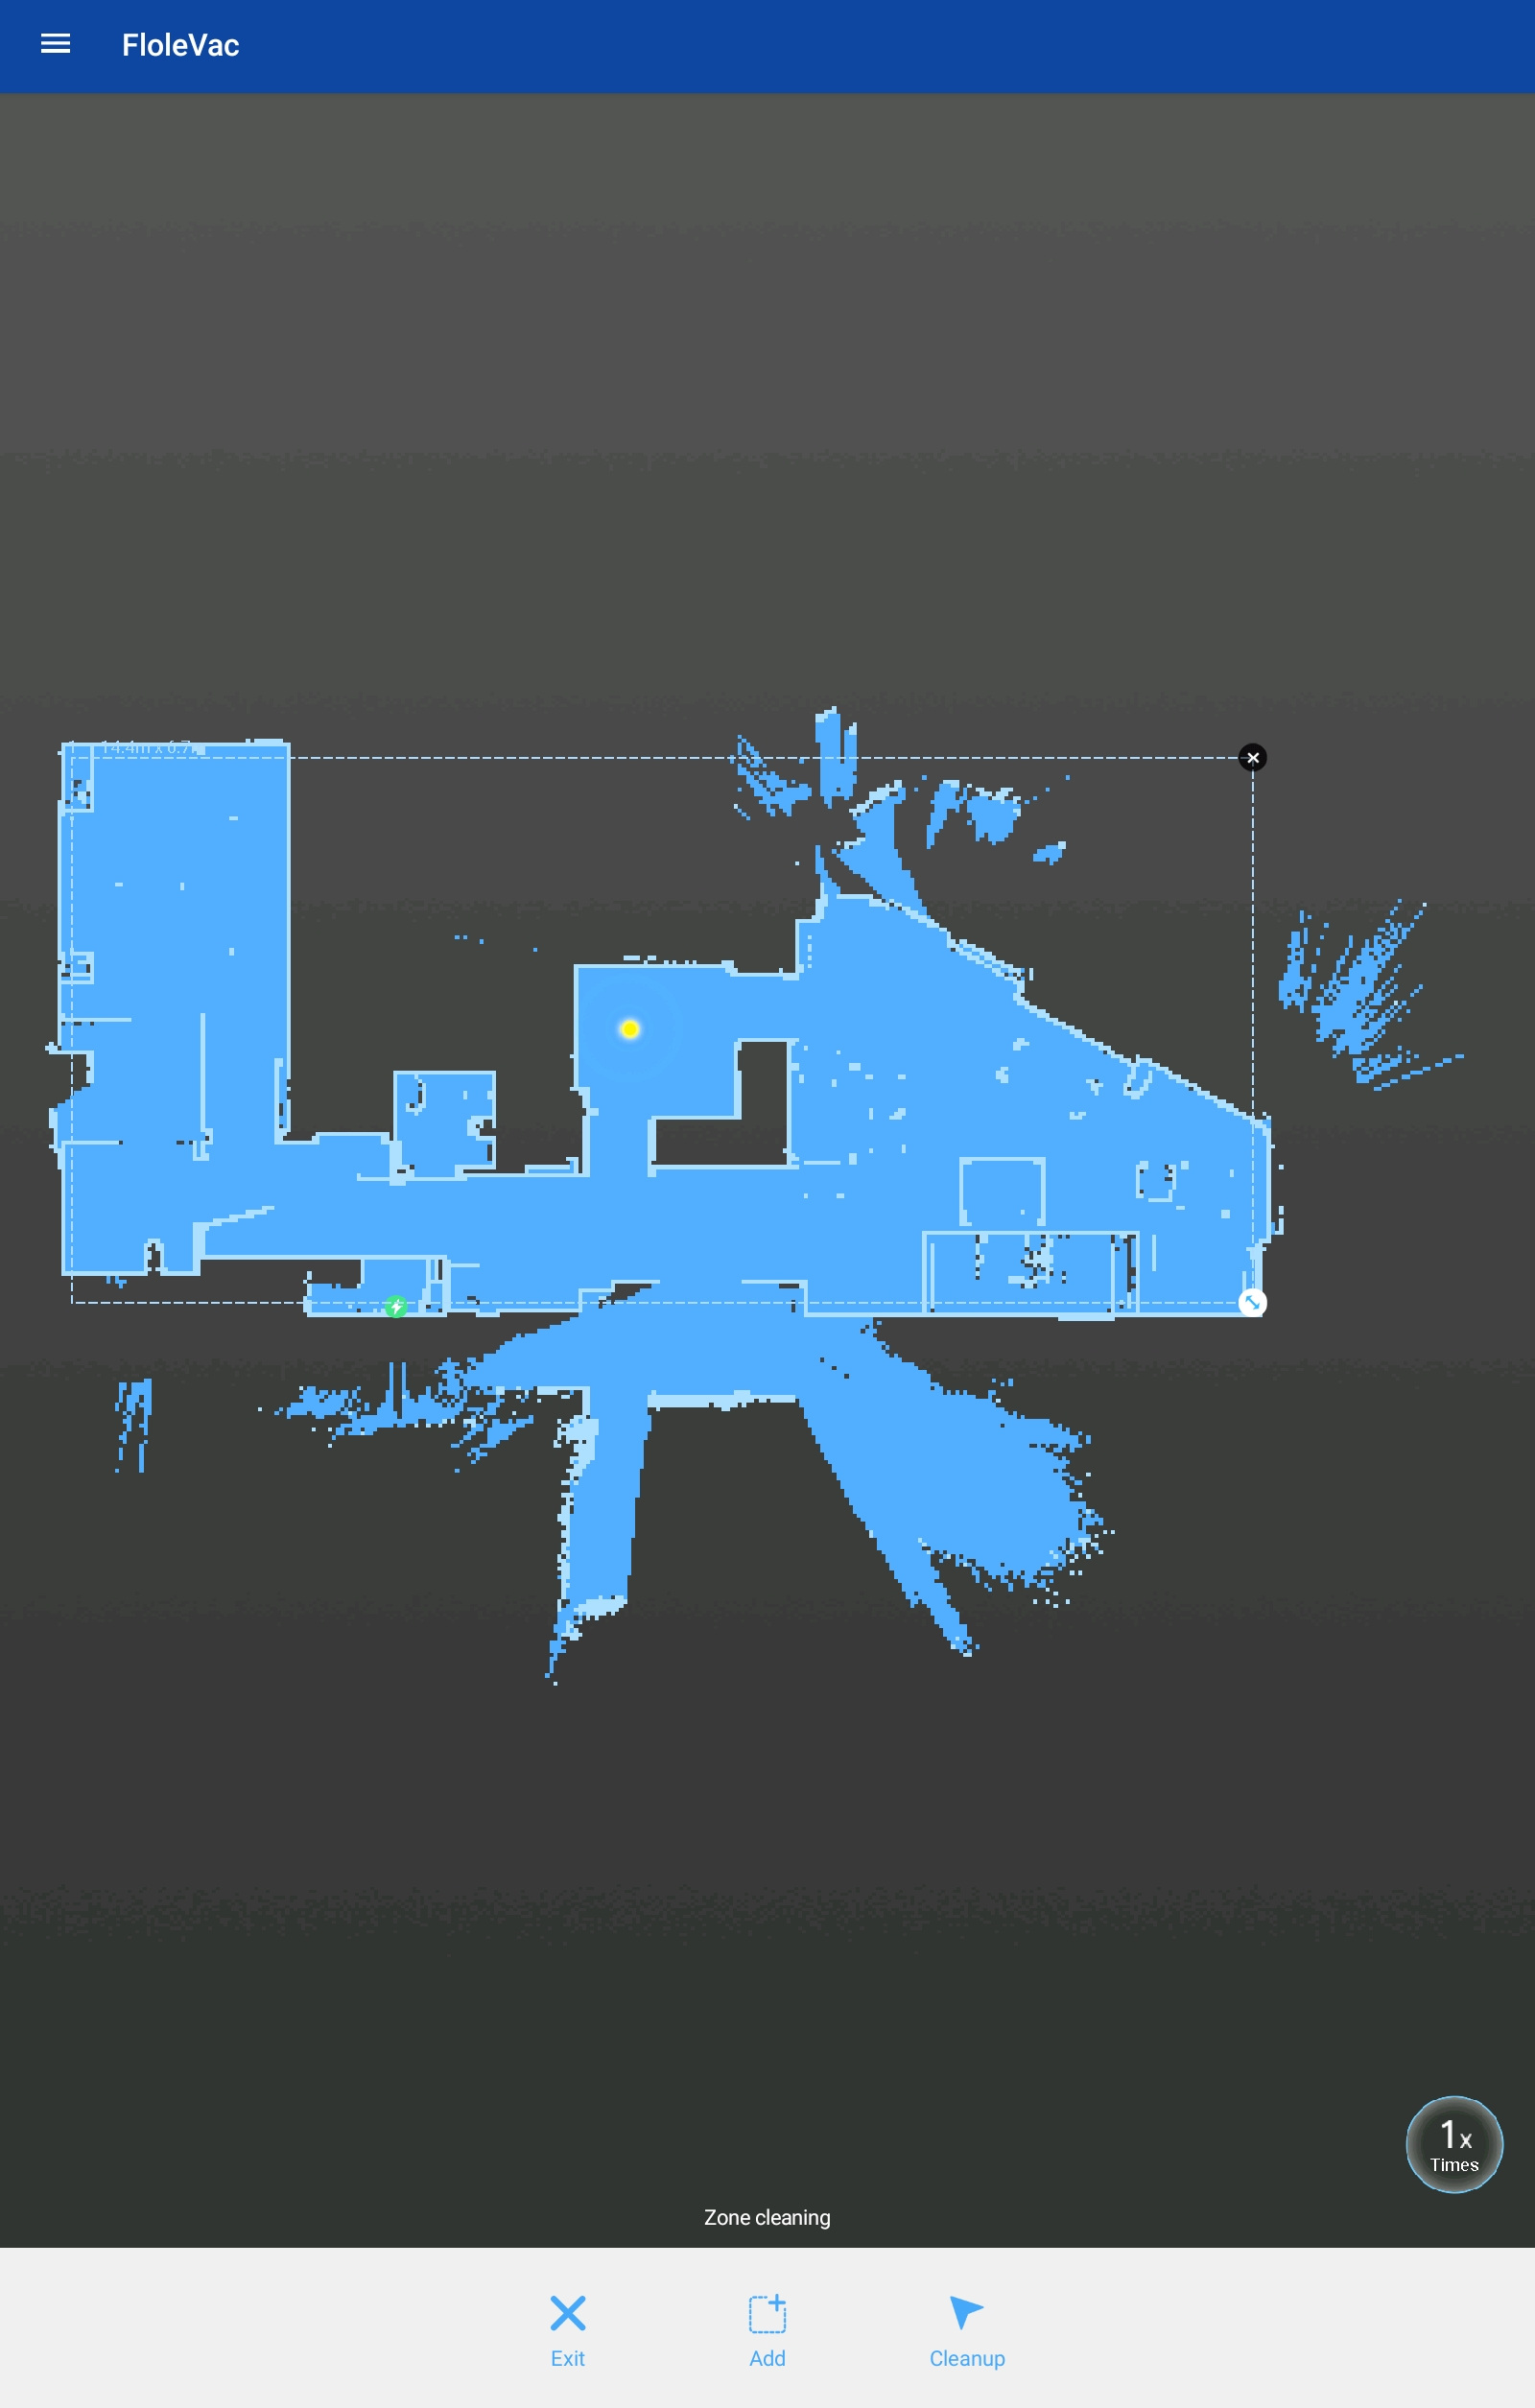
- Take a screenshot of a whole map
- Hold a "Cleanup" button to copy zones coordinates to a clipboard.
Example result:
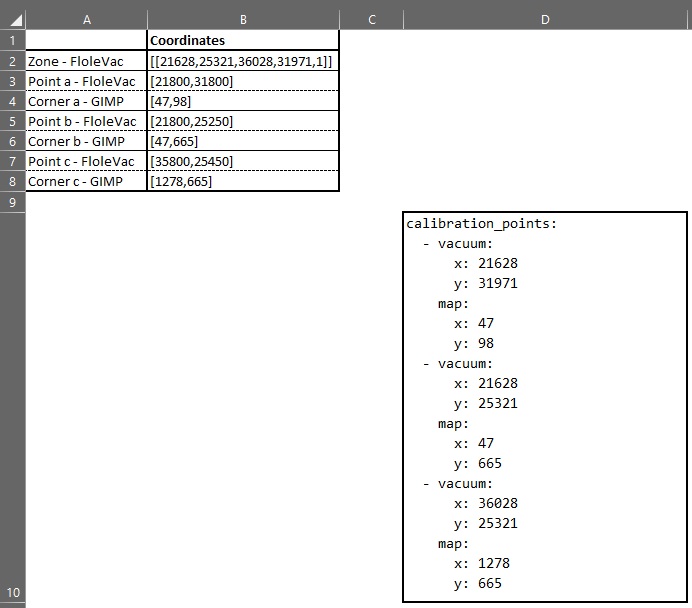
[[21628,25321,36028,31971,1]] - Paste copied coordinates in "Zone - FloleVac" row of the calibration spreadsheet
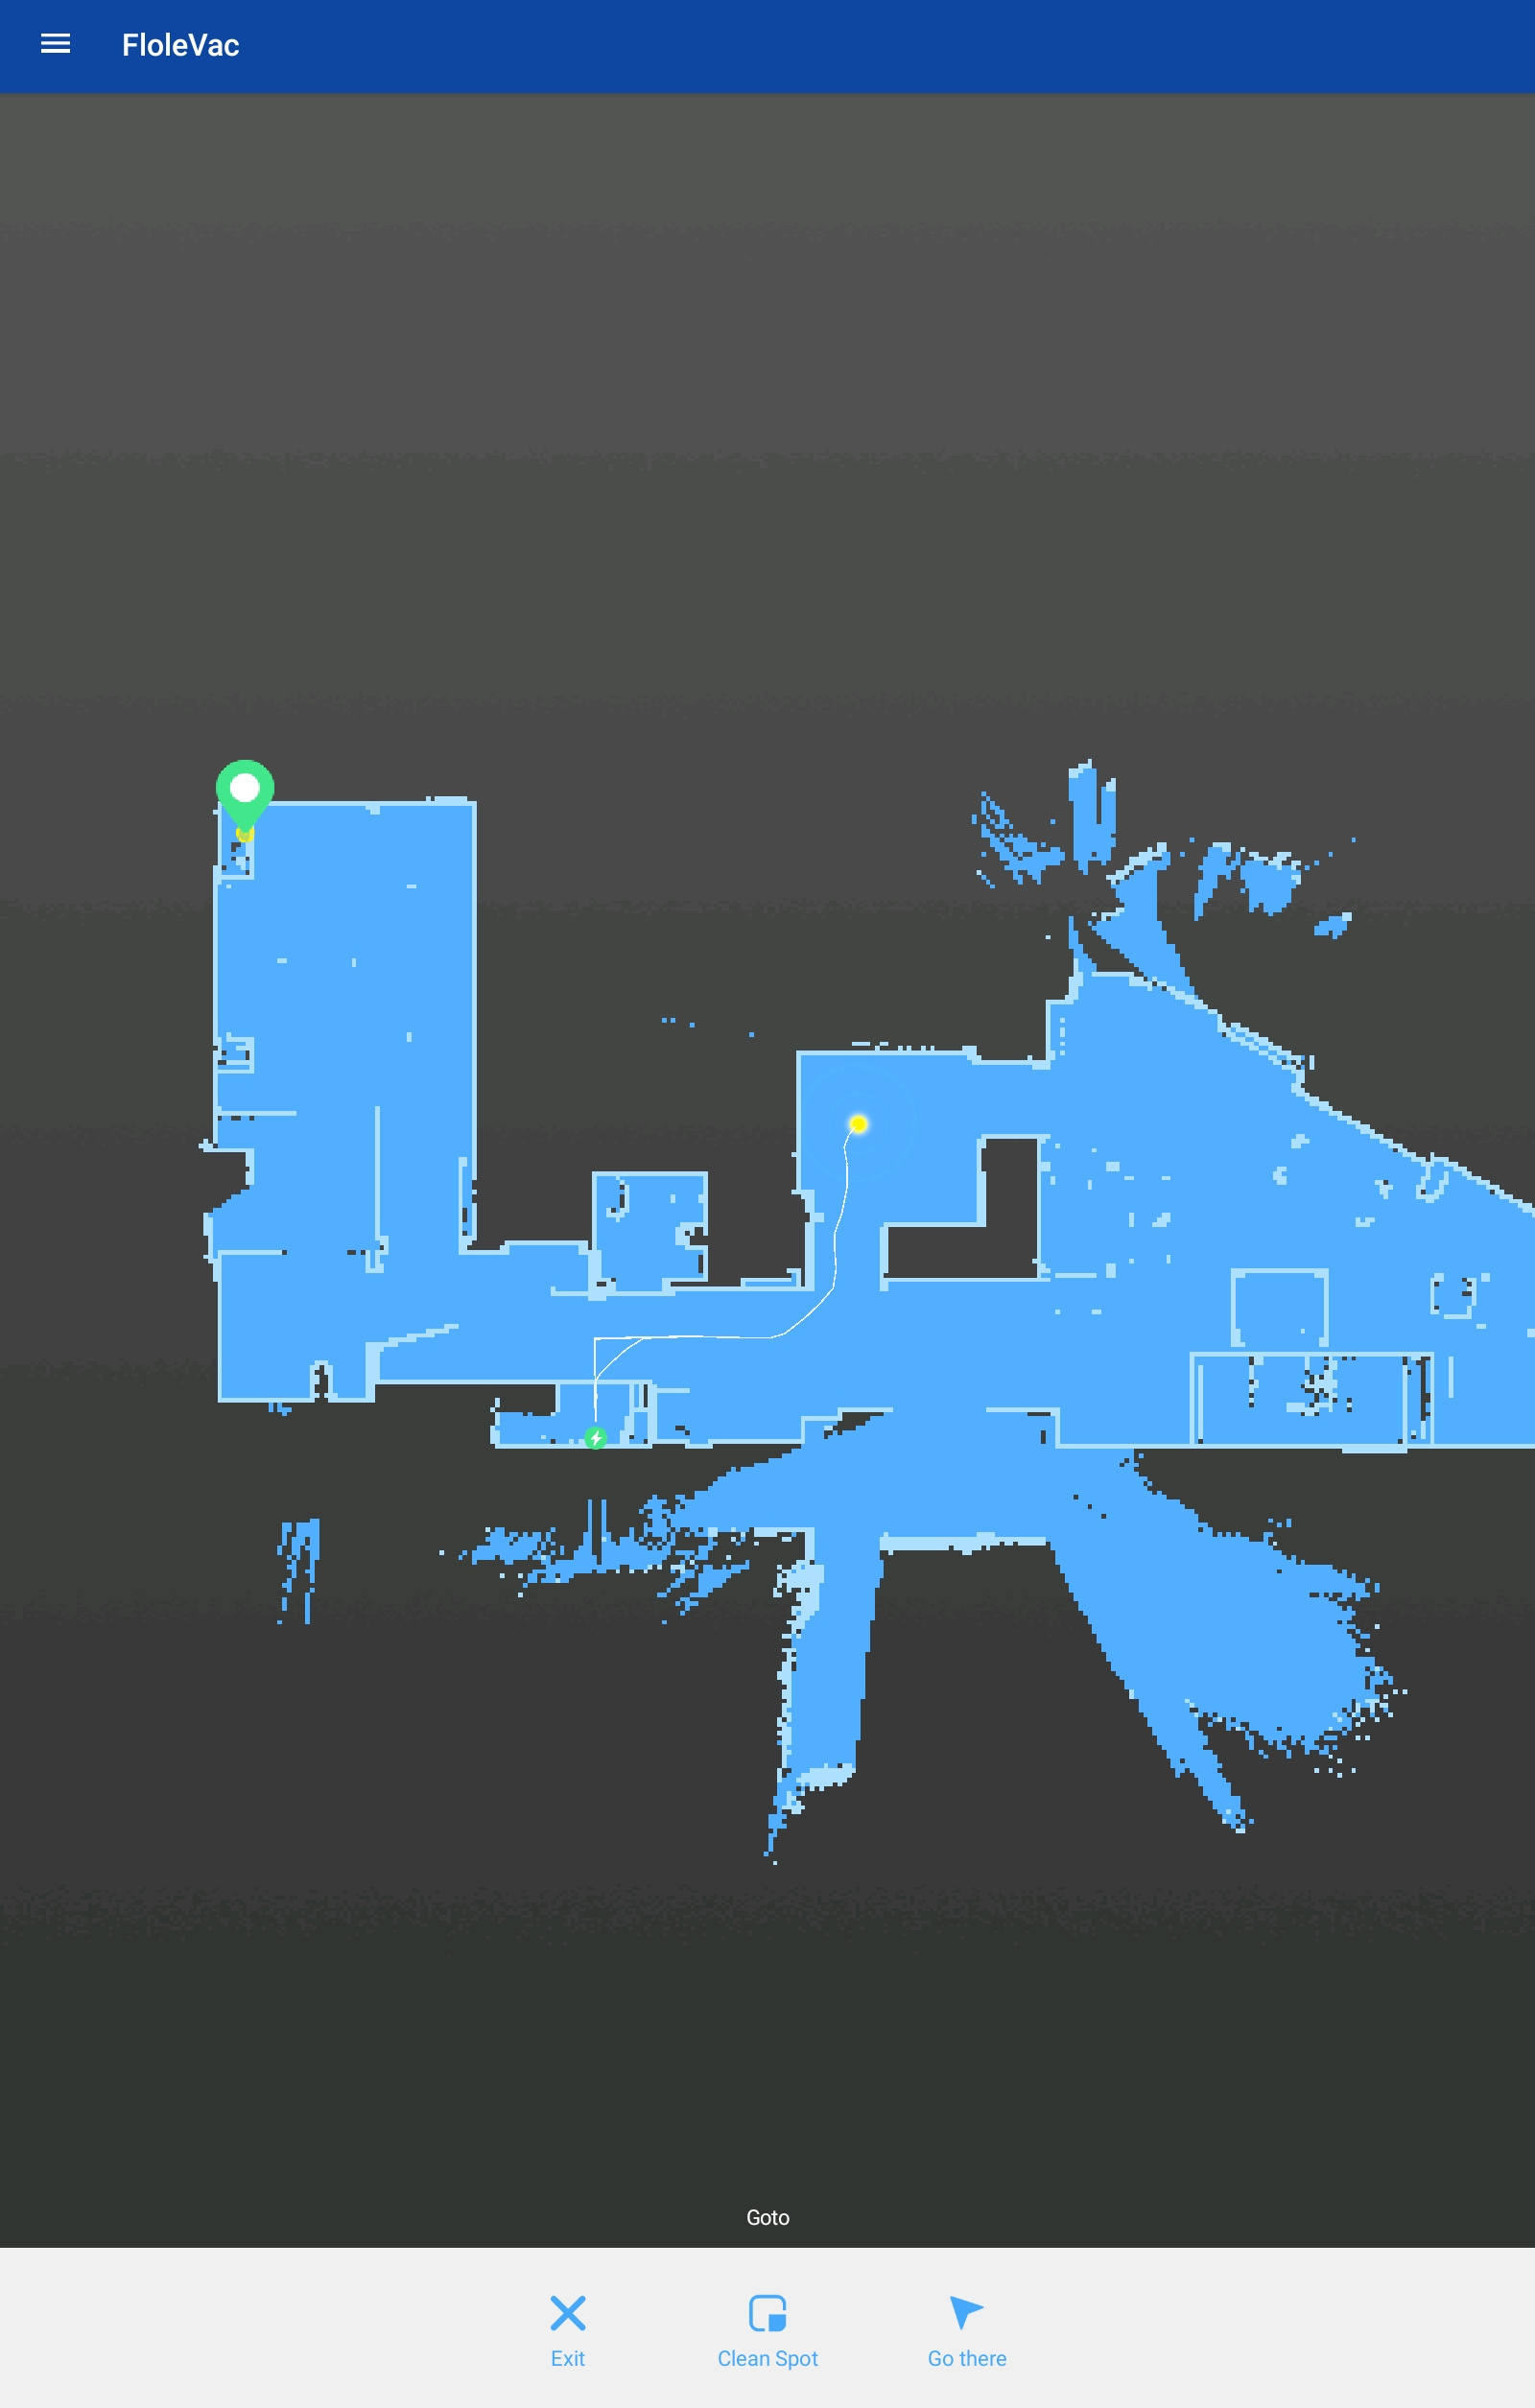
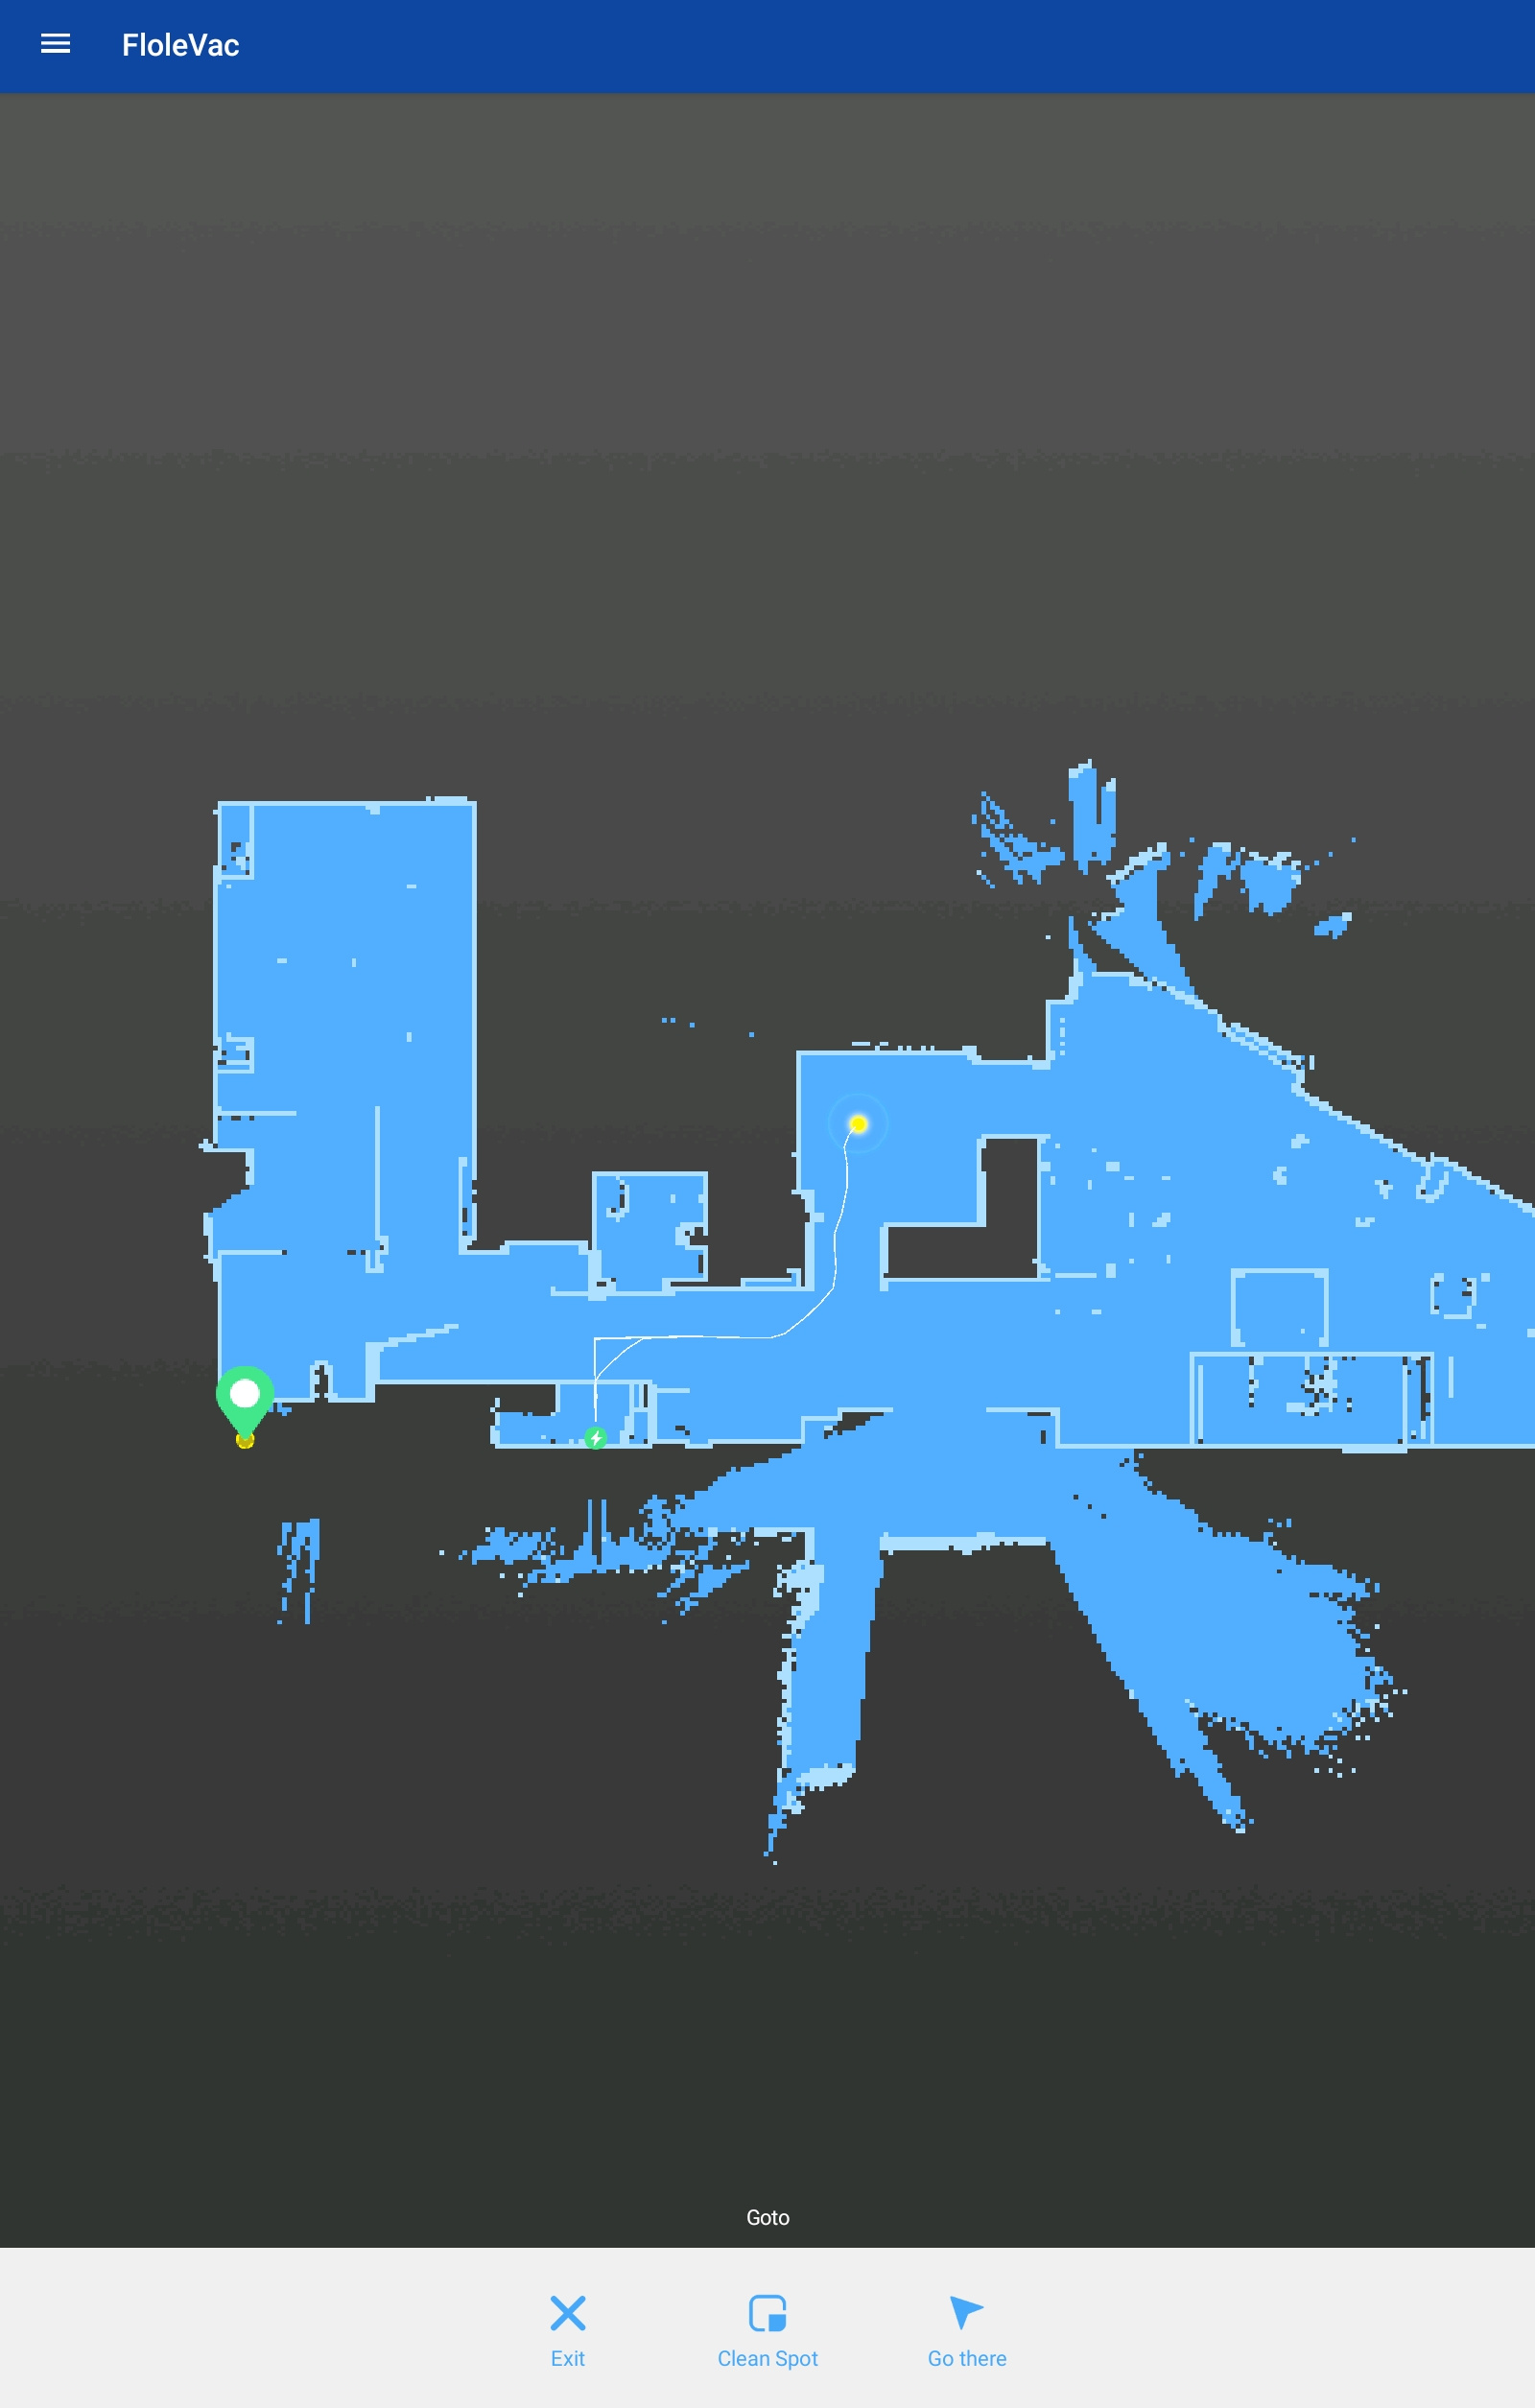
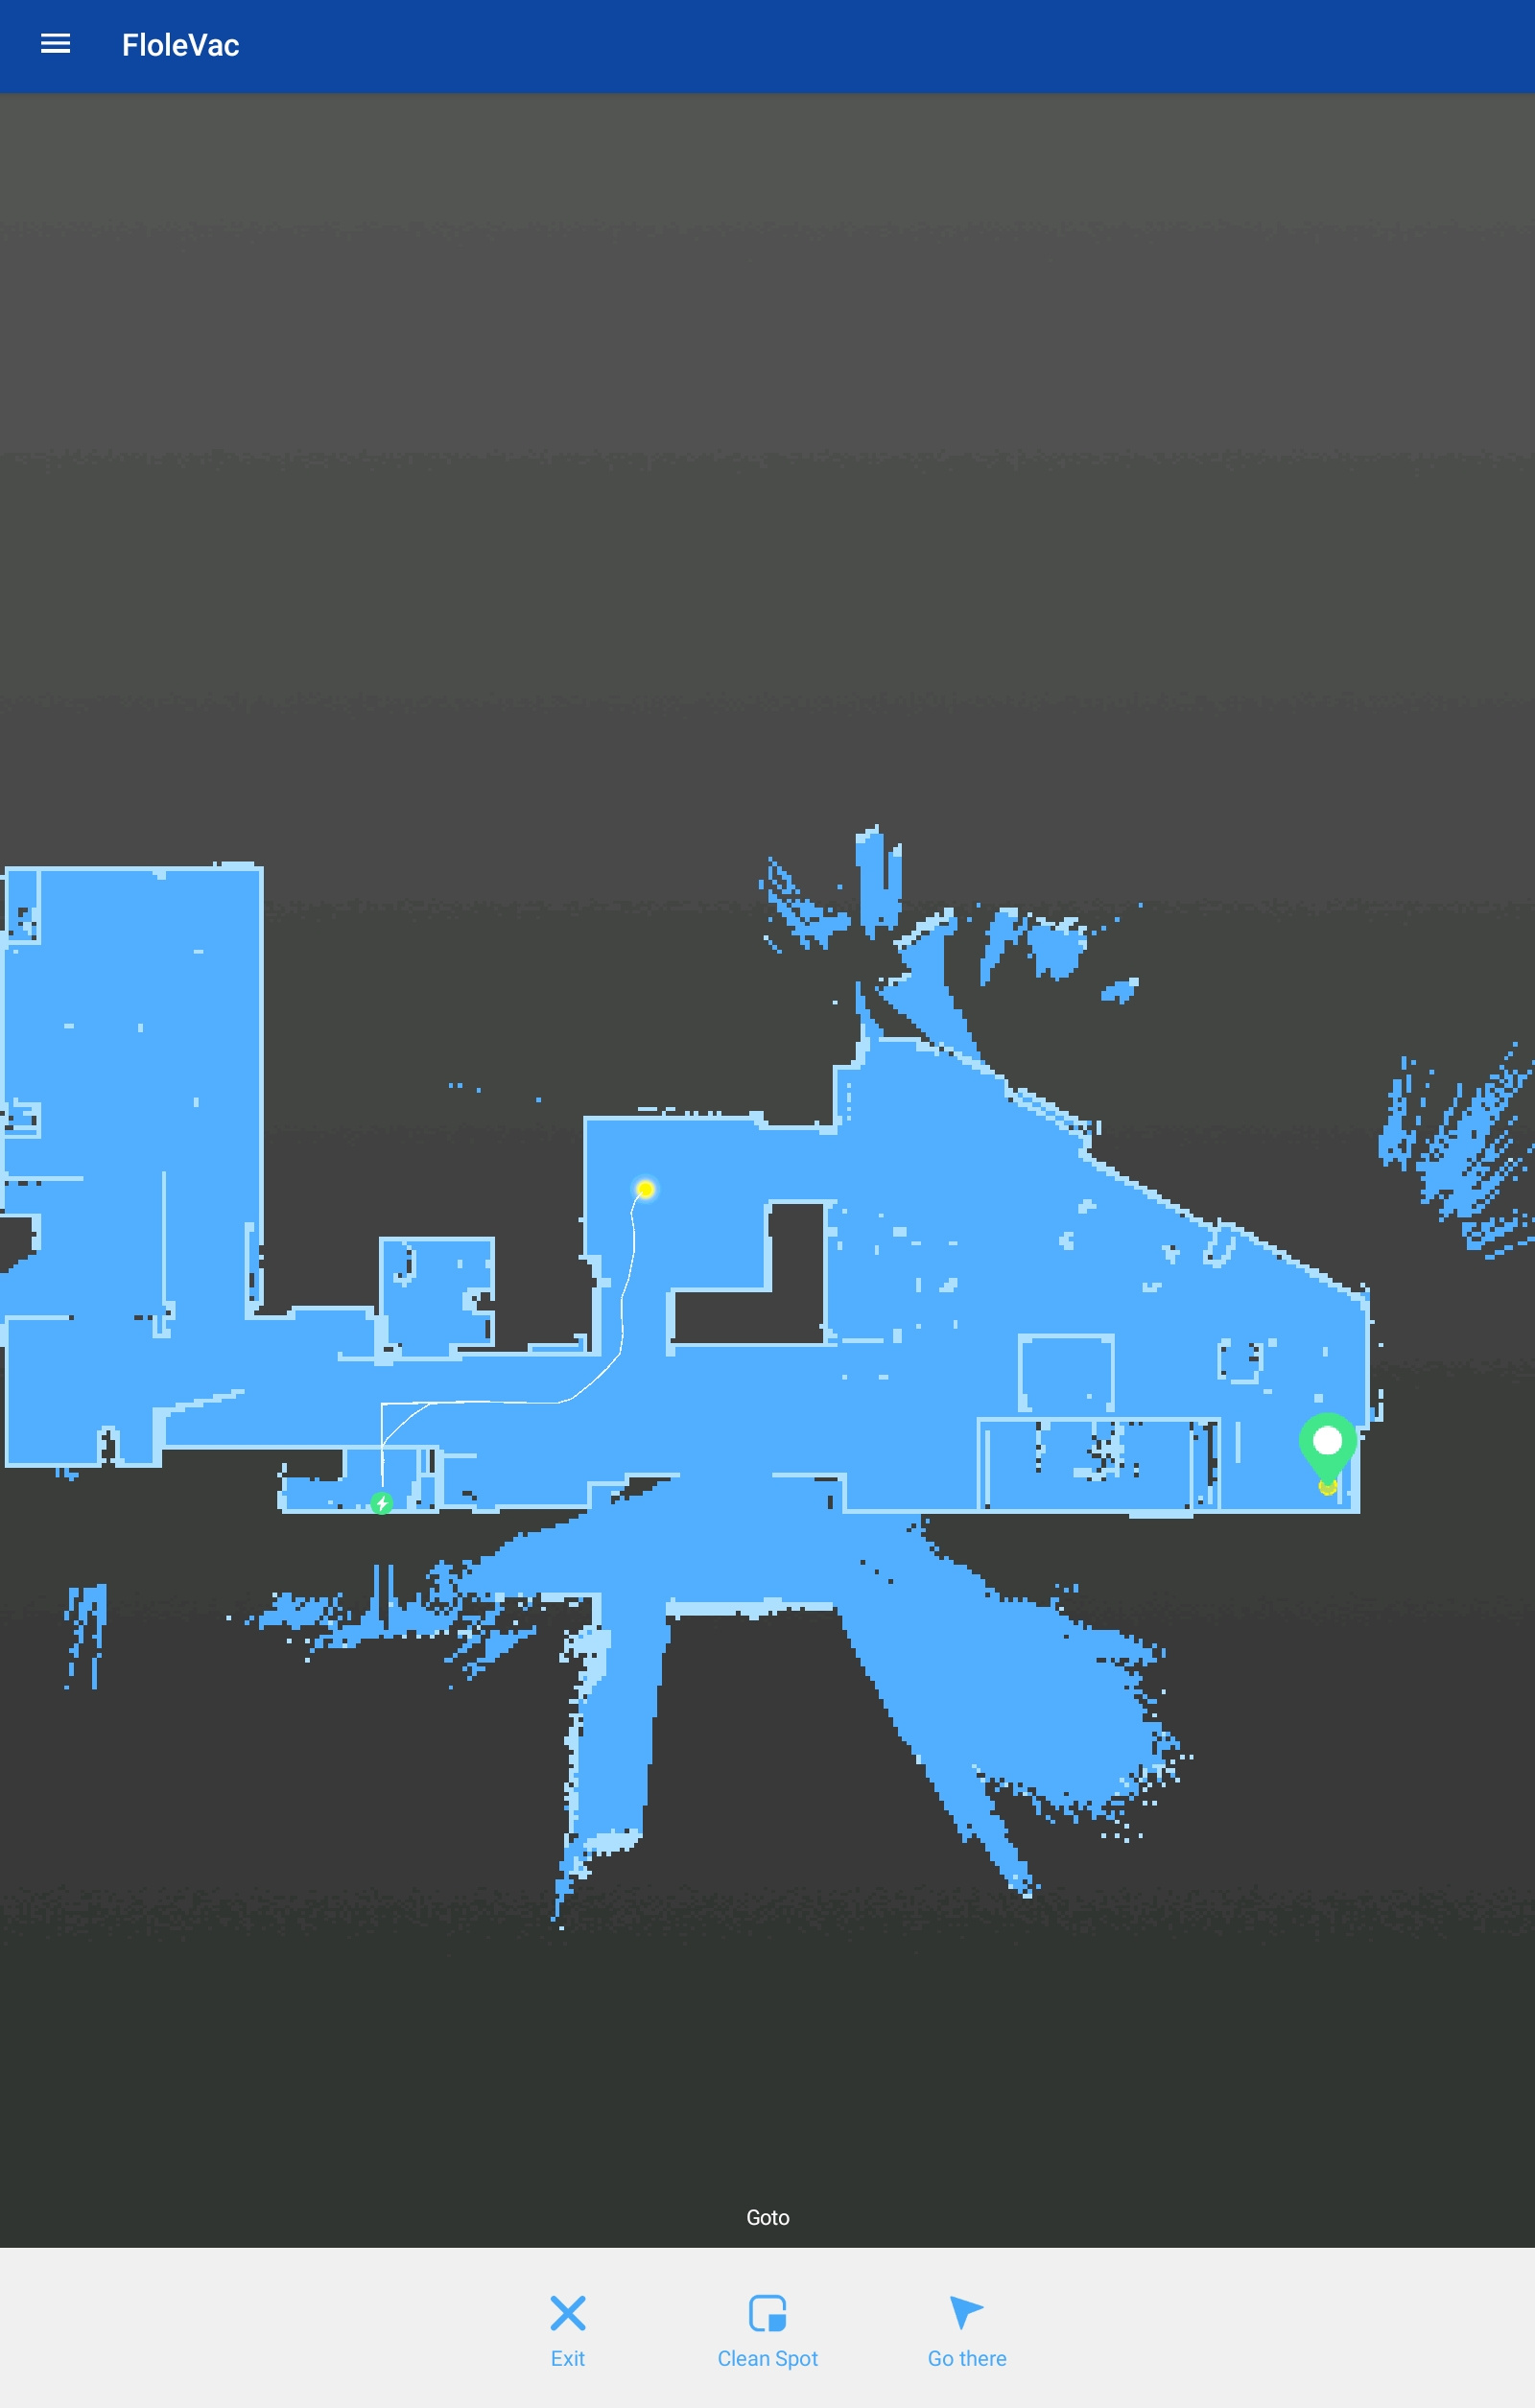
- Check approximated coordinates of three corners of the zone drawn in previous step:
- Select a "Go" mode
- Mark a point near the chosen corner
- Hold a "Go there" button to copy points coordinates to a clipboard
- Example result a:
[21800,31800] - Example result b:
[21800,25250] - Example result c:
[35800,25450]
- Example result a:
- Paste copied coordinates in corresponding rows of the calibration spreadsheet ("Point a - FloleVac", etc.)
Gimp
- Open the screenshot of a map taken at point 4 in an image editor (e.g. GIMP or Paint)
- Crop it according to your requirements
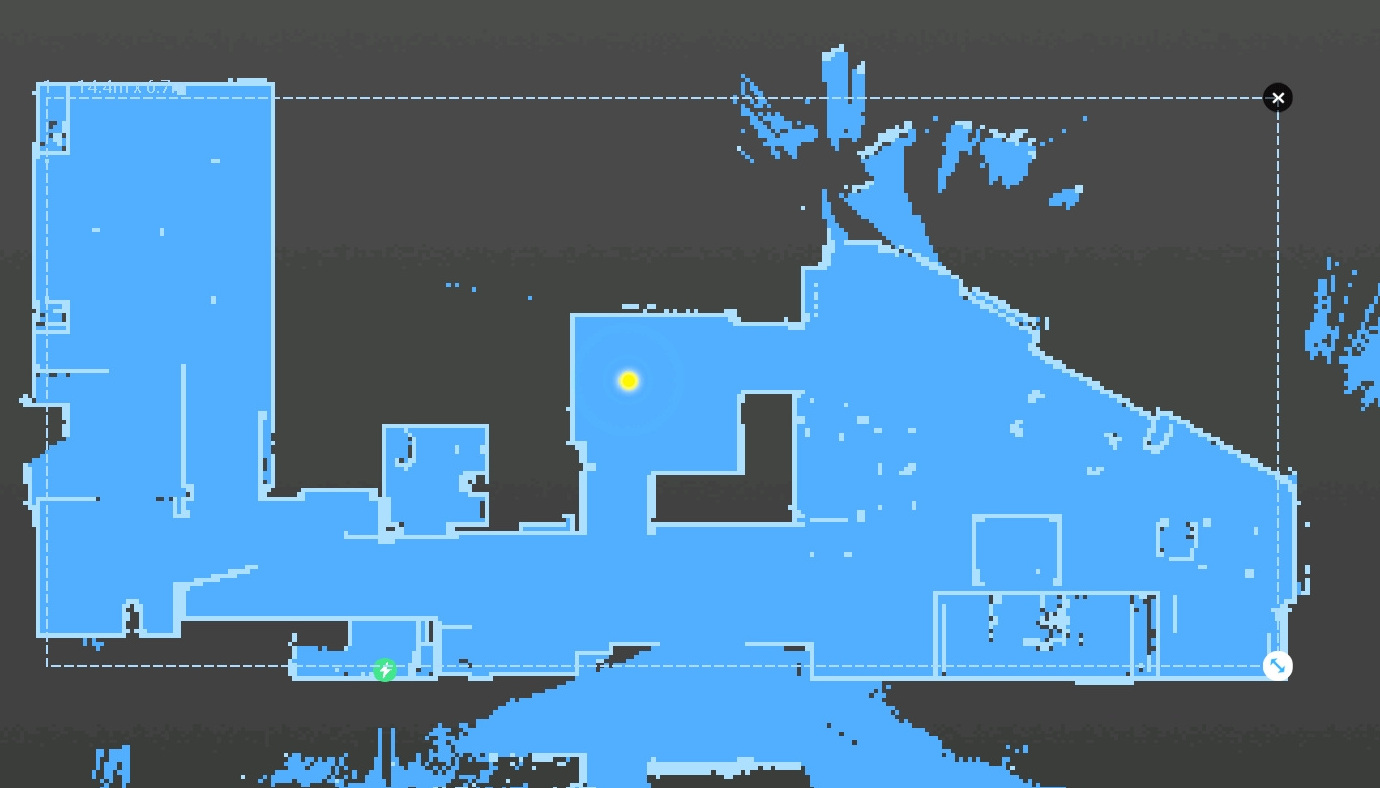
- Check coordinates of corners chosen in step 7 of FloleVac section
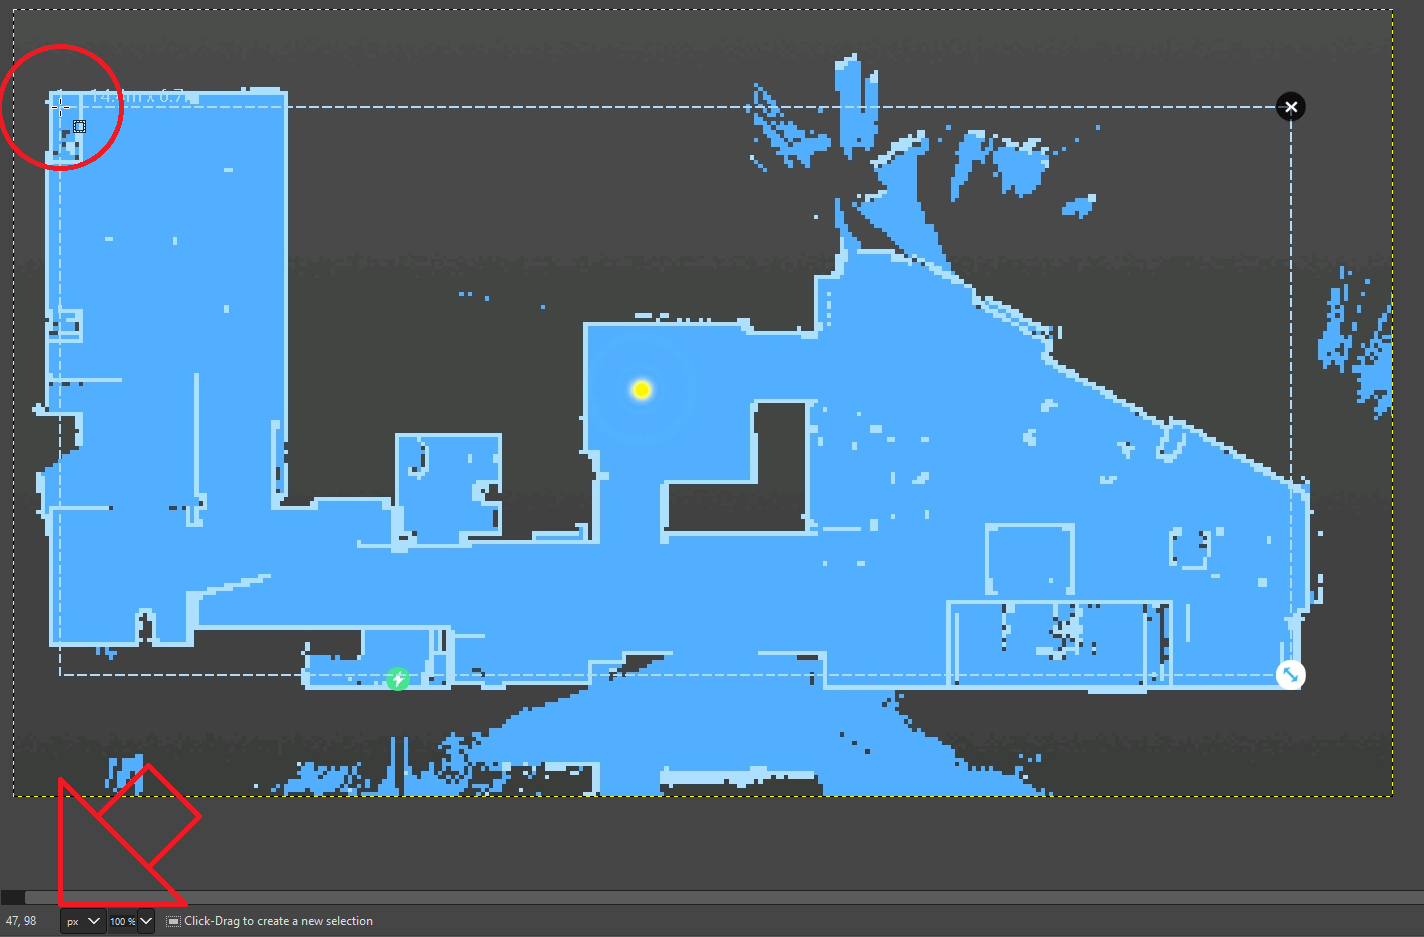
- Write pairs of coordinates in correct format (
[x,y]) to corresponding rows of the calibration spreadsheet ("Corner a - GIMP", etc.).
Once all 7 rows of calibration spreadsheet are filled with correct values you can copy cards calibration to Home Assistant.
calibration_points:
  - vacuum:
      x: 21628
      y: 31971
    map:
      x: 47
      y: 98
  - vacuum:
      x: 21628
      y: 25321
    map:
      x: 47
      y: 665
  - vacuum:
      x: 36028
      y: 25321
    map:
      x: 1278
      y: 665