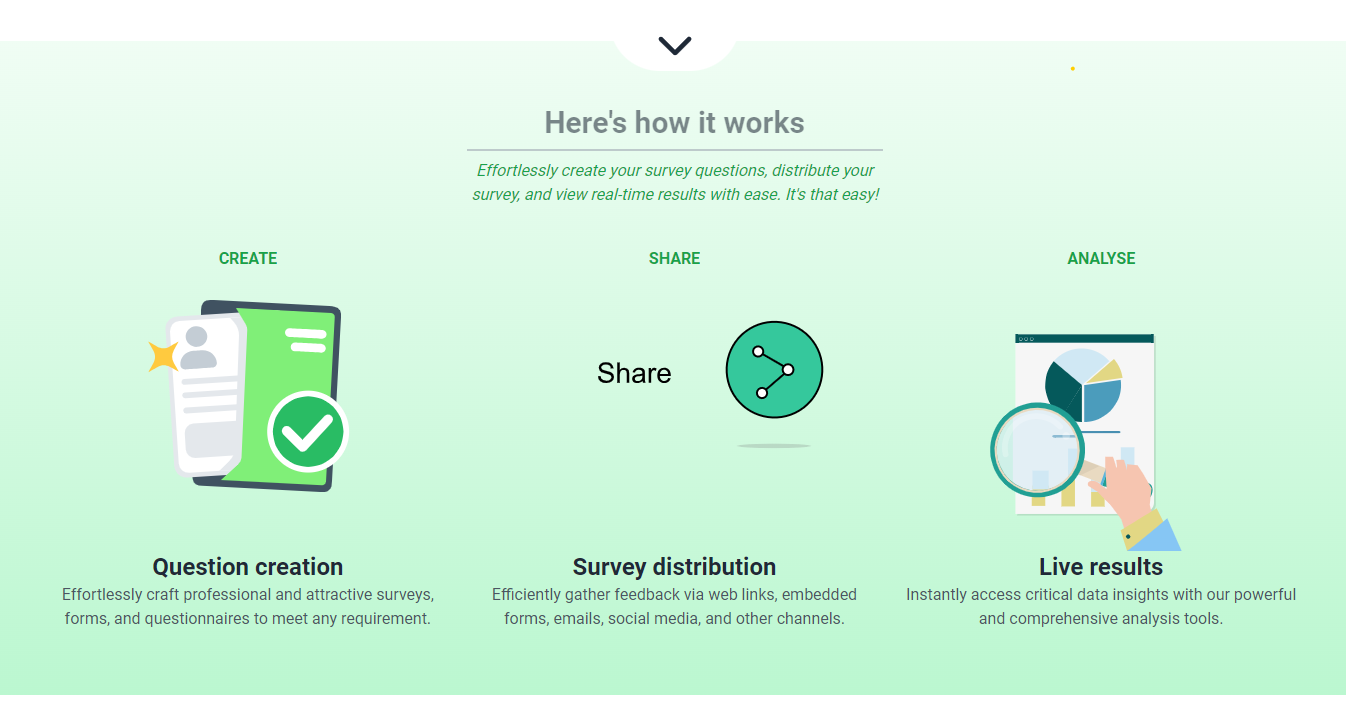
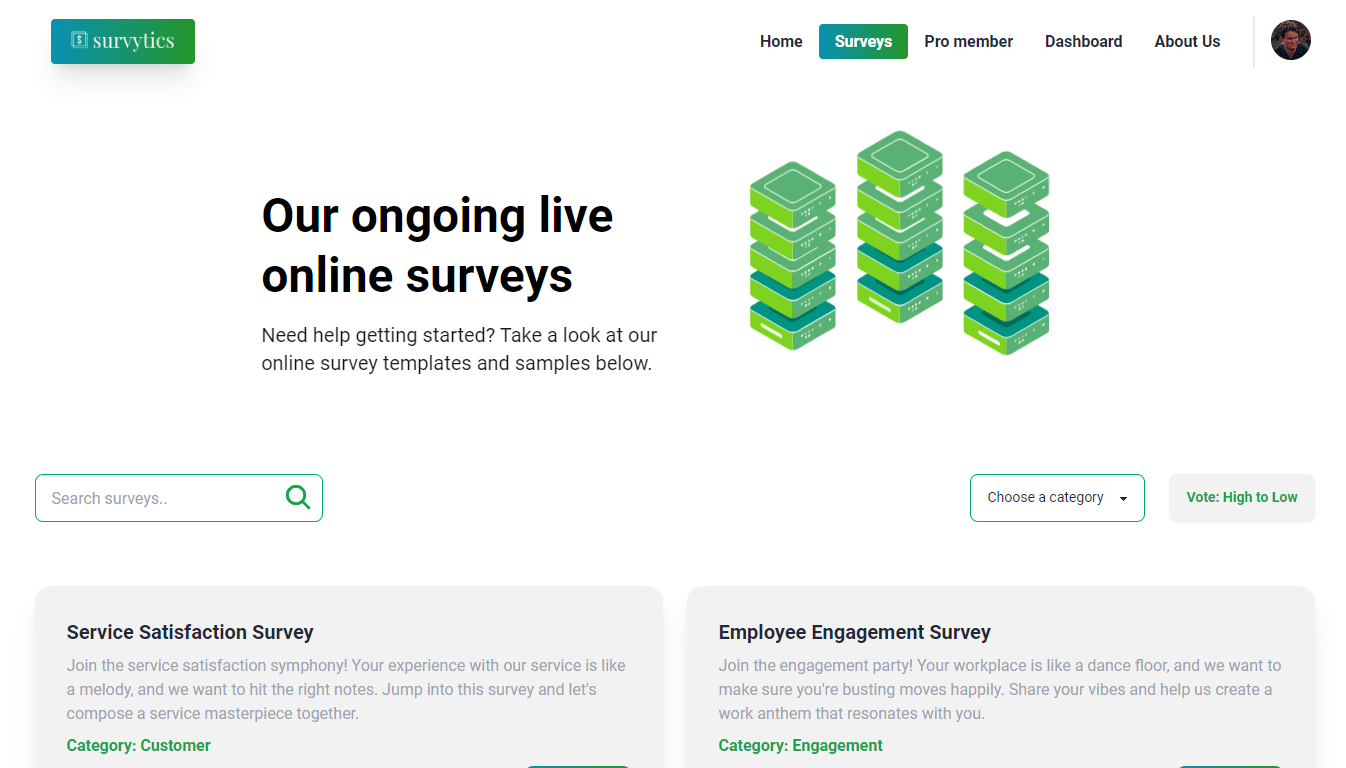
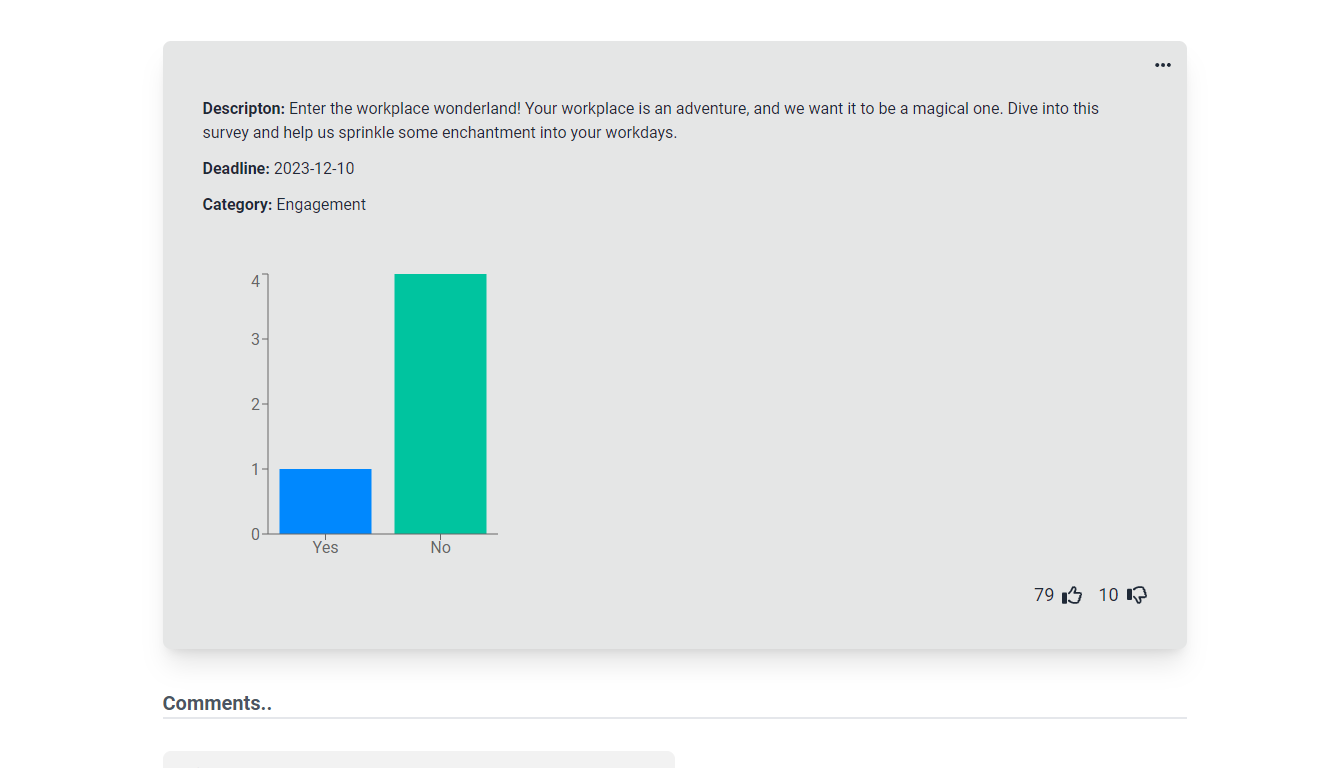
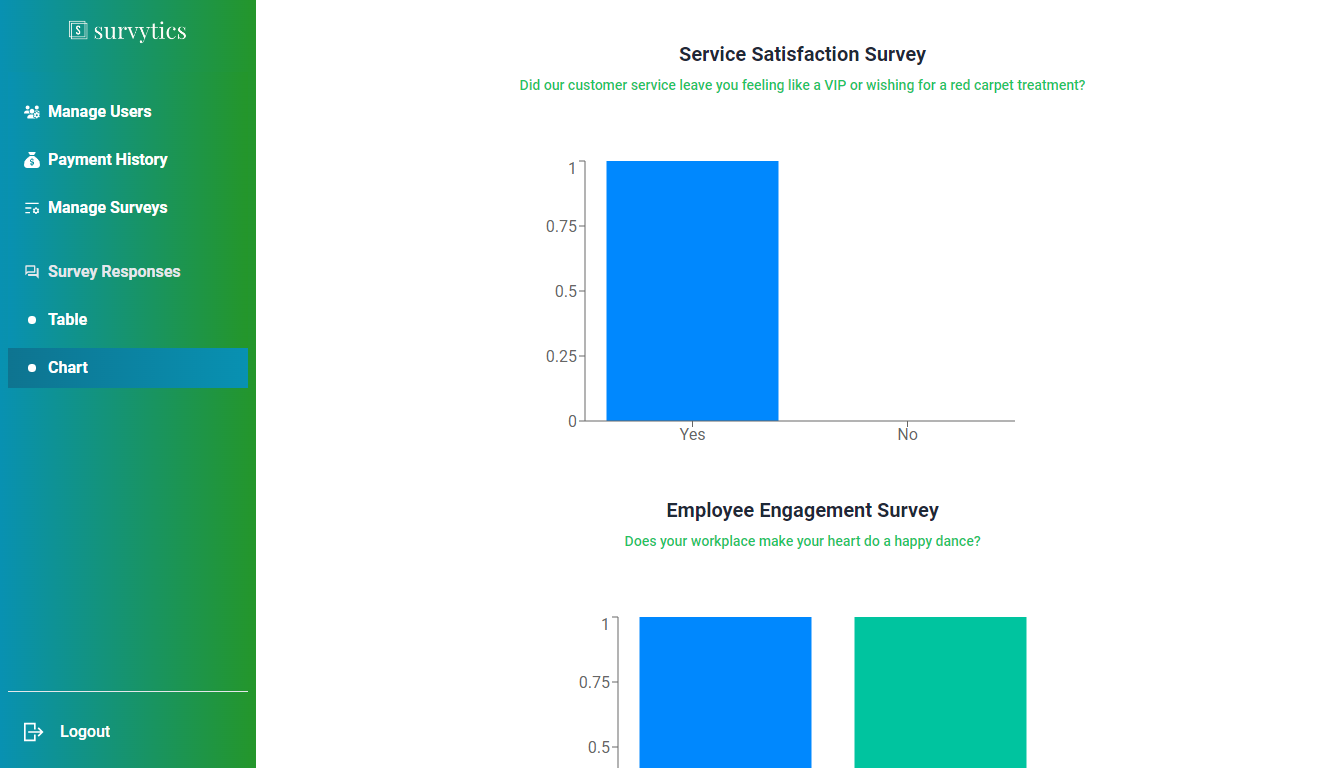
Survytics is a user-friendly survey creation platform, allowing surveyors to effortlessly design surveys with yes/no questions and allowing users to vote, like, dislike, comment and report on particular surveys.
-
Payment Intregation:
- I've used stripe for payment gateway. Any logged in user can become a pro member after successful payment. And only pro members have the permission to add comments.
-
JWT web token:
- For sensitive data like admin dashboard and surveyor dashboard I've implemented JWT token on backend.
-
Role base user management:
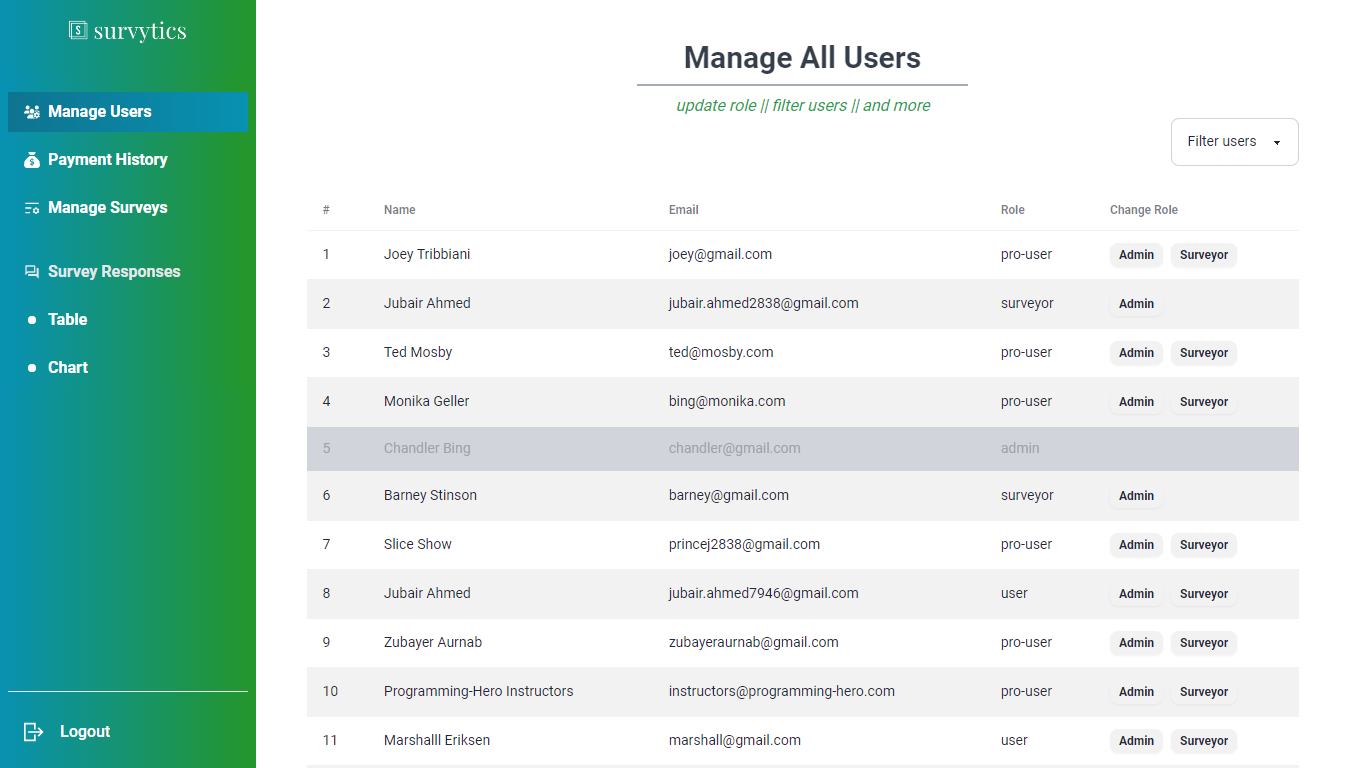
- There are mainly four roles in this website. A user, pro user, surveyor and admin. All the them have their unique access to this website.
-
Admin accessibility:
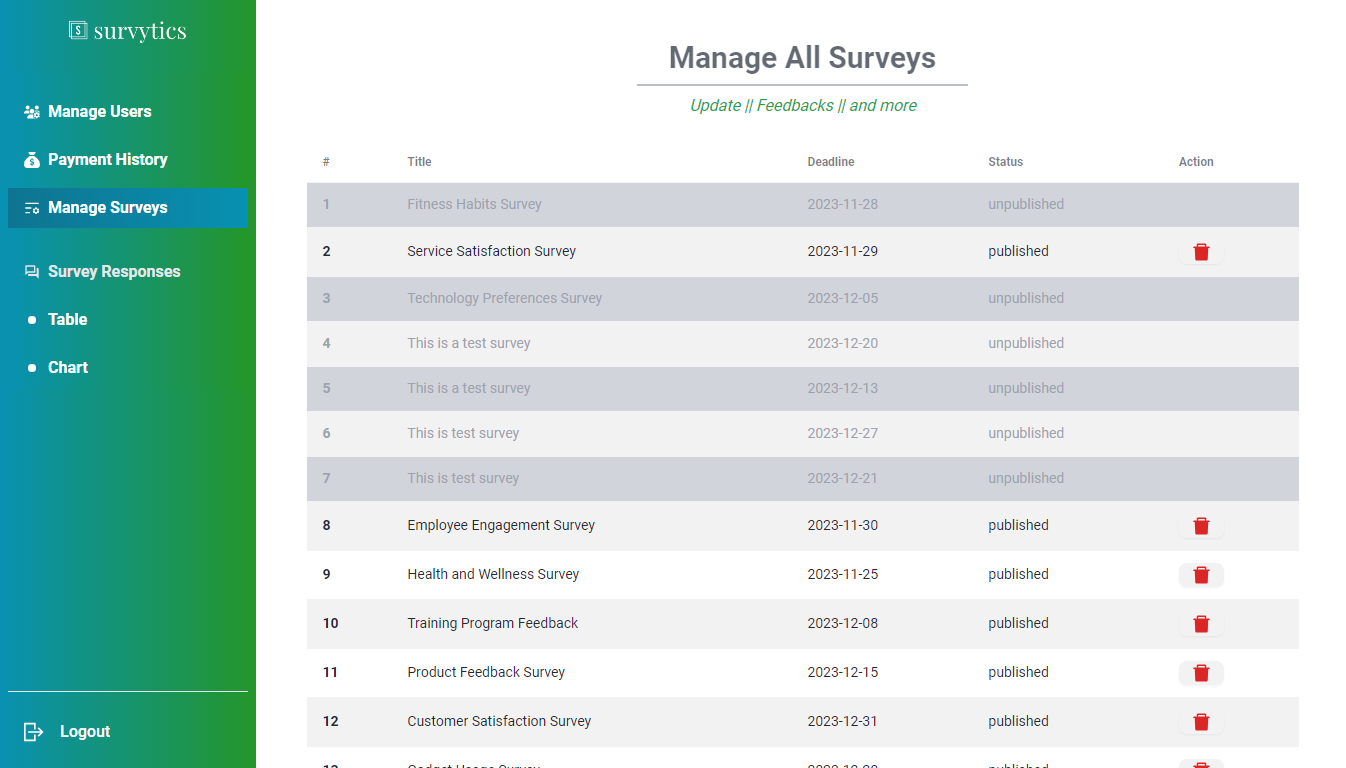
- Admin has the access to allow surveys to be on the website and on every unpublish survey admin can send a feedback message to the surveyor.
-
Default user accessibility:
- User can report a specific survey, they can like or dislike a survey. The reports of users are visible to the surveyor in his dashboard as feedback in the modal.
-
Dashboard:
- Role-based user dashboard for Admin and Surveyors.
To get started with the project, follow the steps below:
Make sure you have the following dependencies installed:
-
Clone the repository:
git clone https://github.com/justJubair/survytics-client.git
-
Navigate to the project directory:
cd survytics-client -
Install the dependencies:
npm install # or yarn install -
Update the .env.local file with your own firebase and stripe credentials.
VITE_APIKEY=Your_Credentials
VITE_AUTHDOMAIN=Your_Credentials
VITE_PROJECTID=Your_Credentials
VITE_STORAGEBUCKET=Your_Credentials
VITE_MESSAGINGSENDERID=Your_Credentials
VITE_APPID=Your_Credentials

VITE_STRIPE_KEY=Your_stripe_public_key-
Start the development server:
npm run dev # or yarn run dev -
Open the application in your browser: http://localhost:5173
If you'd like to contribute to the project, please follow the steps below:
- Fork the repository.
- Create a new branch for your feature:
git checkout -b feature-name. - Make your changes and commit them:
git commit -m 'Add new feature'. - Push to the branch:
git push origin feature-name. - Submit a pull request.

